Booking Time Management
For Business & Enterprise Accounts only. To upgrade your account go to: https://www.coursebox.ai/pricing
This section explains how Business and Enterprise users can offer and manage paid one-on-one sessions within Coursebox. It covers connecting external booking and payment tools, setting availability and rates, and enabling learners to request or book time directly through user profiles—making it easy to monetise expertise and manage sessions in a streamlined, professional way.
Set Up Bookings
In Coursebox Branded Training Platform (Premium), users can offer paid one-on-one sessions by linking a Calendly account and setting an hourly rate.
To accept payments for bookings, users must have both a connected Stripe account and an active Calendly account.
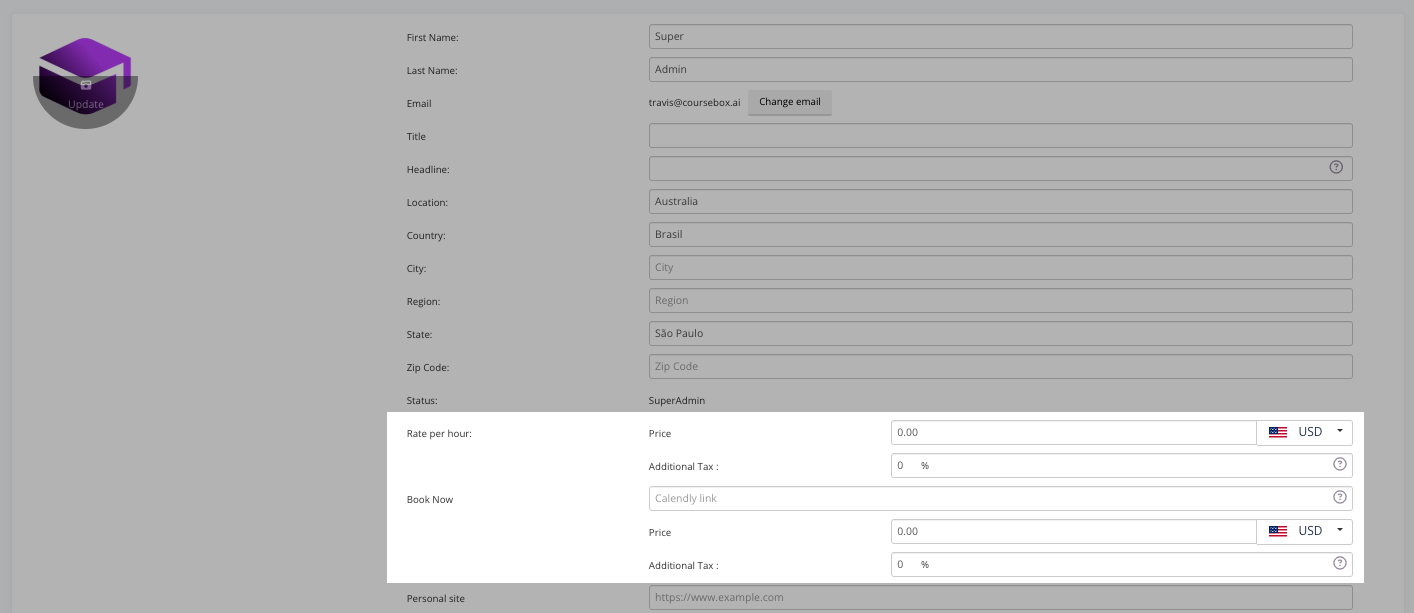
Booking options are managed from the user's profile. Open the profile in edit mode to access and configure booking settings (these options become visible once the appropriate user status is assigned).

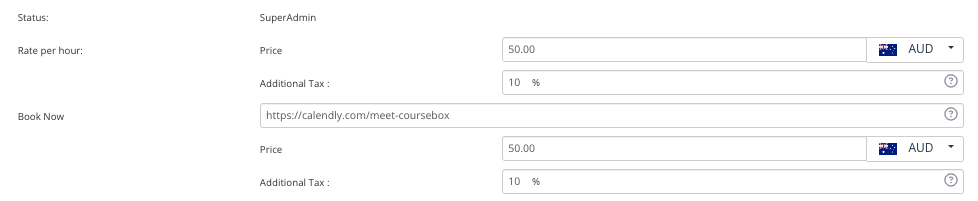
Setting Hourly Rate
You can set an hourly rate for your session along with an additional Tax rate. We recommend you check with your respective state law for Tax information.
After setting an hourly rate, you need to provide a link to your Calendly booking calendar.
Click on Save to update the changes.
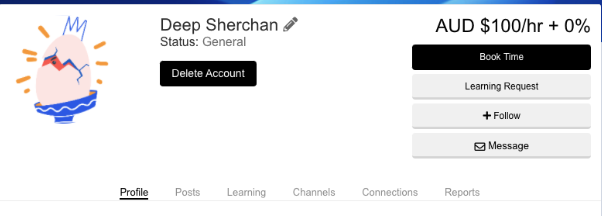
Now, when you view the user's profile you will see Hourly Rate information and a Book Time button to book a time.
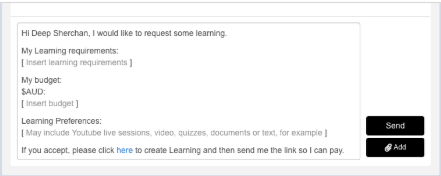
Learning Request
Alternatively, users can also click on the 'Learning Request' button to request one-on-one sessions.
Click on 'Learning Request' to request one-on-one sessions. You will be prompted with a request template which you can edit and click on Send to initiate the learning request.