Permission settings
Plan requirement: Portal Permissions settings are available on Pro + LMS and Enterprise. Compare plans.
On an earlier plan? Plan names and inclusions changed when we moved to Free, Creator, Pro, Pro + LMS and Enterprise. If you are on an earlier plan, your subscription continues unchanged and you keep everything it included — so you may still see features this article lists under a higher plan. Nothing has been removed from your account.
This topic explains how Super Admins use the Permissions settings to control which roles are allowed to create each type of content across the Coursebox platform. From a single Role permissions table, you can decide who can create messages, courses, bookings, groups, invitations, news posts, news reactions, and resources — letting you tailor the platform experience to suit your organisation's structure, governance, and learning goals.
Authorise access to users
The Super Admin can control which roles are allowed to create each type of content, including messages, courses, bookings, groups, invitations, news posts, news reactions, and resources.
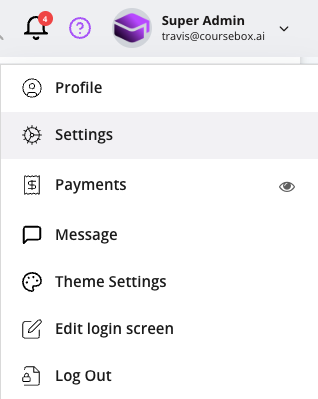
Open your profile menu and go to Settings, then select the Permissions tab.
On the Permissions page, you'll see the Role permissions table listing every content Action alongside each role.
In the Role permissions table, tick or untick the checkbox where each Action row meets a role column to control who can create that type of content.
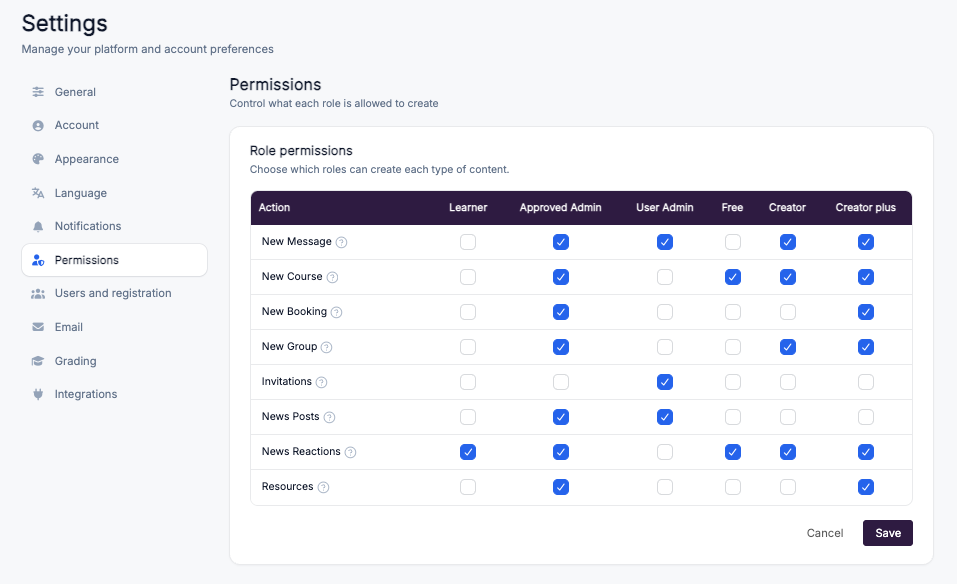
Coursebox is designed for a social learning experience, so by default everyone can post on the newsfeed. These settings let you change that — for example, restricting newsfeed posts to admins only.
In every section below, click the blue Save button to apply your selections, or Cancel to discard them.
"Free", "Creator" and "Creator plus" in this table are user types, not subscription plans. They control what a user can do inside your portal and are unrelated to your Coursebox subscription.
Manage access to new messages
Under New Message, tick the checkboxes next to the roles that should be allowed to send new messages on the platform.
Available roles may include:
Learner
Approved Admin
User Admin
Free
Creator
Creator plus
Manage access to creating new courses
Use this setting to control which user types are allowed to create new courses on the platform.
Under New Course, tick the checkboxes next to the user roles that should have permission to create new courses.
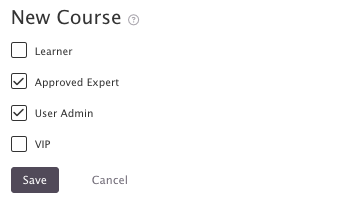
Tip: You can enable course creation for multiple roles.
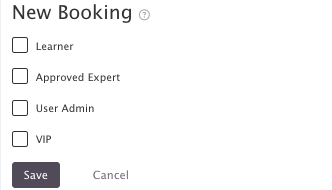
Manage access to creating new bookings
This setting lets you control which user roles have access to create new bookings in the system. This ensures that only specific roles can access the booking creation feature.
Under the New Booking section, tick the checkboxes for the user roles that should be allowed to create bookings.
Manage access to creating new groups
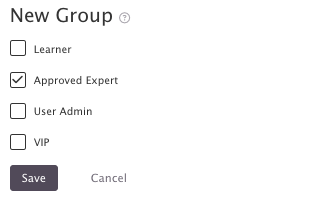
This section allows administrators to control which user roles are allowed to create new groups on the platform. This means group creation access is limited to the roles you select.
Under the New Group section, tick the checkboxes beside the user types you want to allow to create new groups.
Manage access to invitations
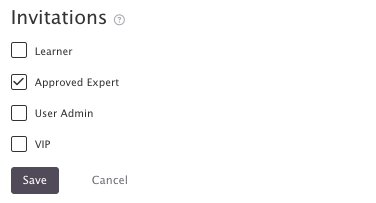
This section lets you control which user roles are allowed to invite friends to the platform. This means only the roles you select will be able to use the "invite friends" feature.
Under the Invitations section, tick the boxes next to the roles allowed to invite others.
Change access to newsfeed posts
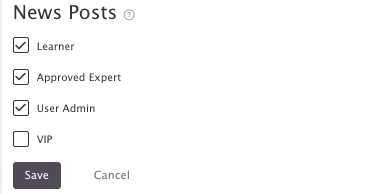
This section lets you choose which user roles are allowed to post on the platform's newsfeed. This determines who can publish posts visible to others in the news section.
Under the News Posts section, tick the checkboxes for the roles you want to allow. Choose one or multiple user types based on who you want to post updates to the community.
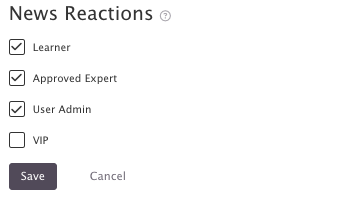
Change access to news reactions
This section allows you to control which user roles can like and comment on Newsfeed posts. This lets you manage engagement permissions for the newsfeed.
Under the News Reactions section, tick the checkboxes next to the user roles that should have permission to like or comment.
Change access to creating resources
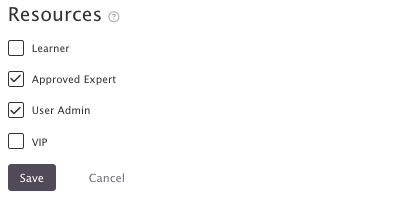
This section lets you control which user types can create new folders, sections, and resources in your platform.
Under the Resources section, tick the checkboxes for the roles that should be allowed to create resources.