Publish a Course
This article explains how to publish your Coursebox course and control who can access it. It covers the access levels — Restricted (publish as private), Public (publish as open access) and Sell this course — along with promoting all your courses from one link, search visibility, transferring course ownership, and real-world examples of published courses. To share a course link, embed it, or export it to another platform, see the companion article Share & Export a Course.
Watch the tutorial videos found in our YouTube Video Library.
Publish a course
After finalising your course design, the next step is to make it available to learners. Publishing your course in Coursebox is quick and simple. Once published, your content becomes live and accessible to those you've shared it with.
Whether you're launching a new training program or updating existing content, this step ensures your learners receive the most up-to-date version of your course.
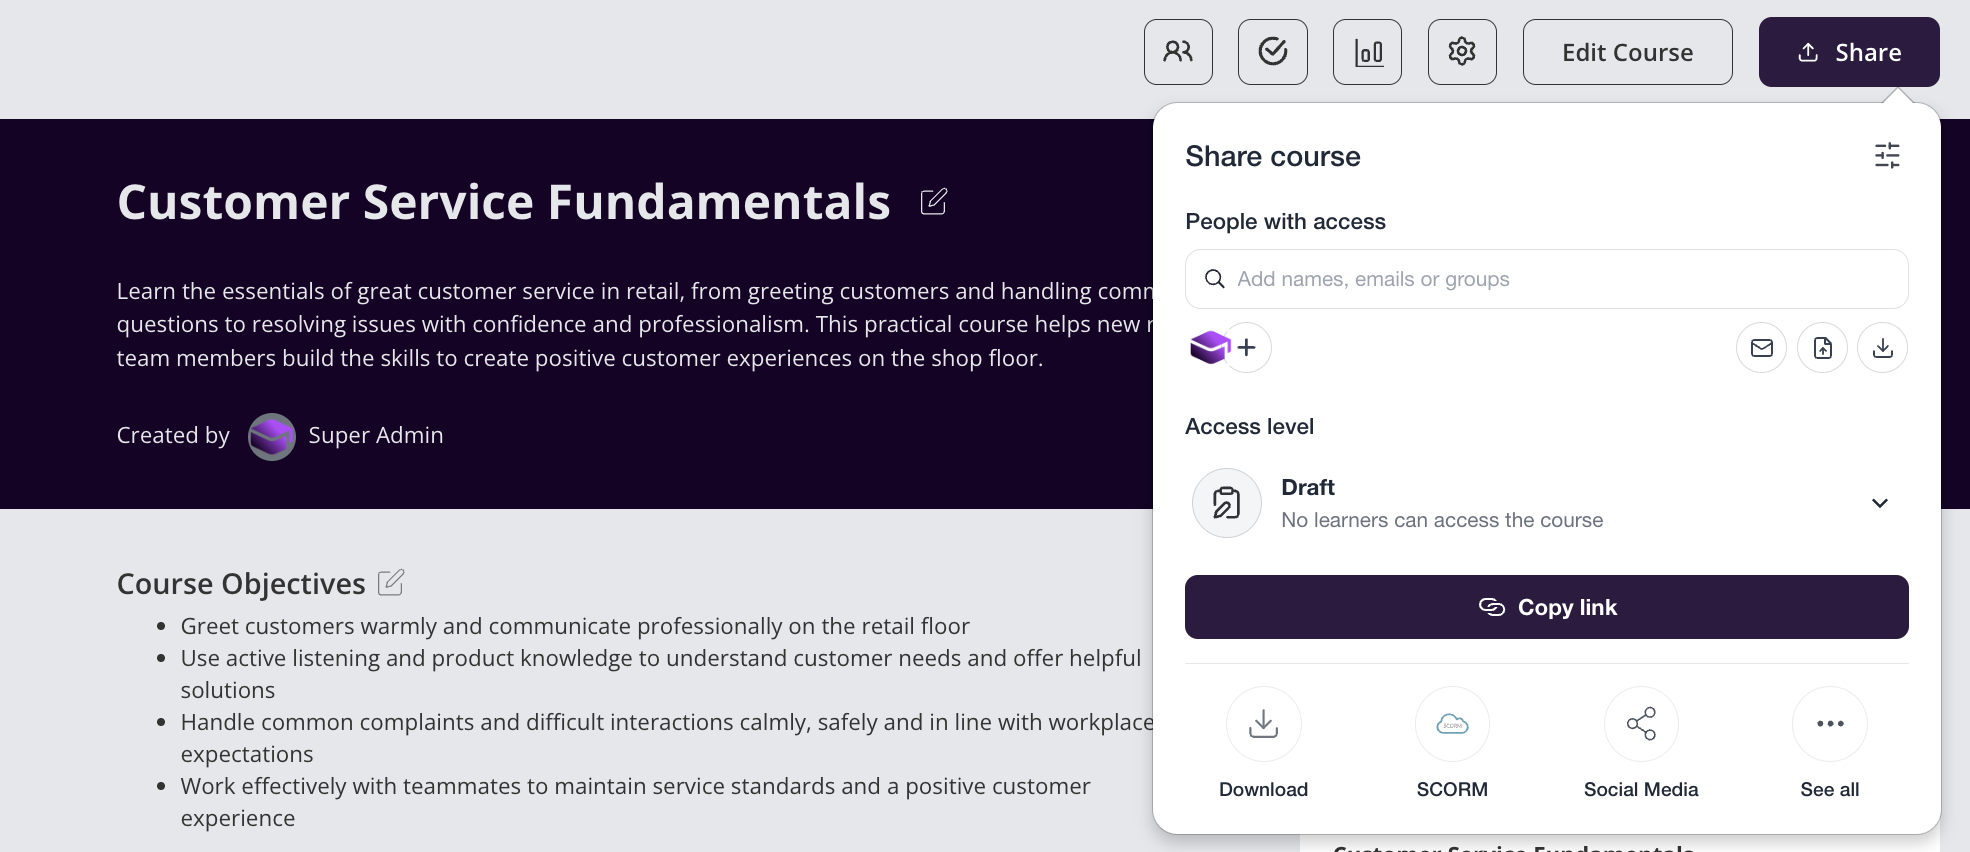
Click Share at the top right of the course, then open the Access level dropdown. A new course starts as Draft (“No learners can access the course”). Choosing any of the other three options publishes it.
Publish a course as Restricted
In the Share panel, open Access level and choose Restricted (publish as private) — “Only invited learners can access the course”.
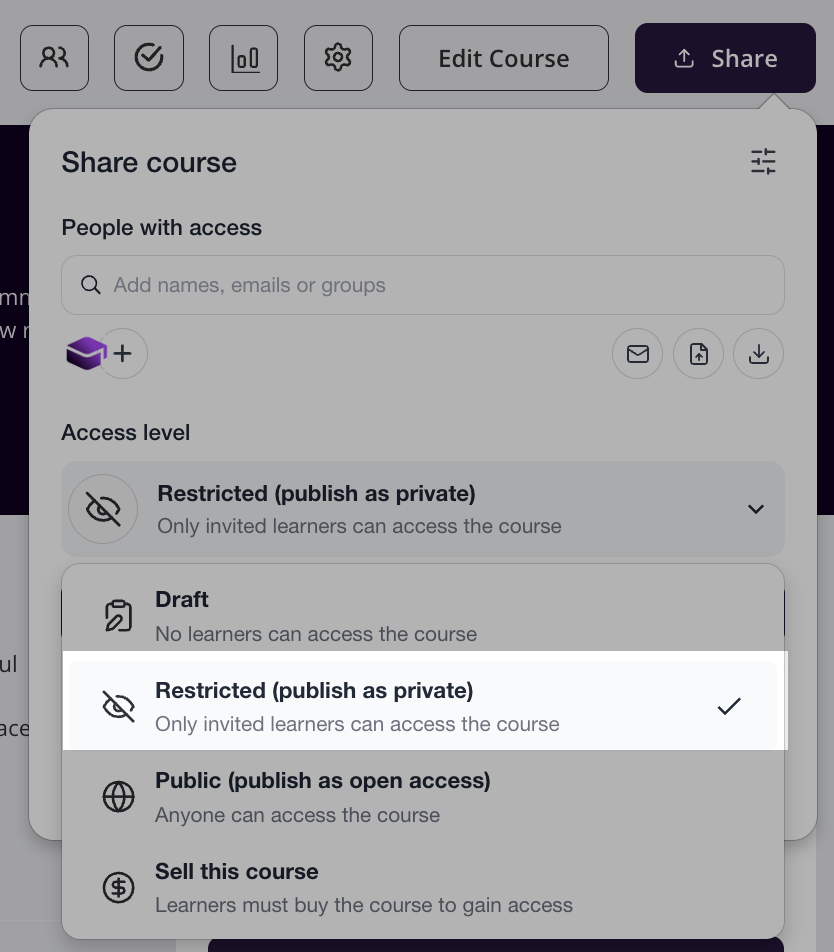
When you publish a course as Restricted, learners will need permission to access the course. Learners will see a Request Access button instead of being able to enrol directly.
Available on Creator and above. Publishing a course as Restricted (private) is included on Creator, Pro, Pro + LMS and Enterprise. It is not included on the Free plan, where you can publish a course as Public. Exporting a course (PDF, HTML or SCORM) also requires Creator or above.
Publish a course as Public
When a course is published as Public, anyone with the course link can access it without needing approval.
In the Share panel, open Access level and choose Public (publish as open access) — “Anyone can access the course”.
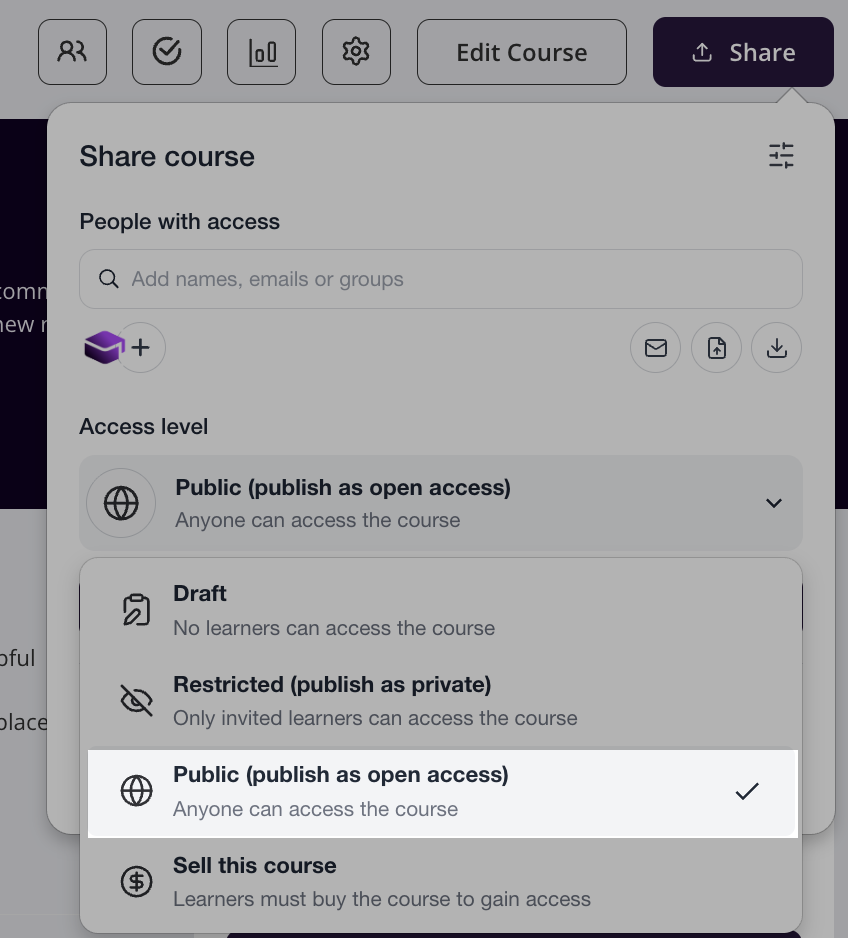
Public courses show a Get Started button.
Visibility clarification: Publishing a course as Public does not put it in any global Coursebox catalogue. It means anyone with the course link can access it without requesting permission, and it appears on your own portal's public course listing page (see Promote all your courses at once below). To drive learners to it, share that link or the course link directly, embed it on your website, or promote it via your own landing page.
To charge for the course instead, choose Sell this course (below). Learners then see a Buy Now button.
Publish a course for sale (sell a course)
In addition to making a course Restricted or Public, you can also sell a course.
Before you can sell your course you will need to link Stripe, PayPal or Paystack. See Managing Payment with Stripe, PayPal or Paystack for setup steps.
In the Share panel, open Access level and choose Sell this course — “Learners must buy the course to gain access”.
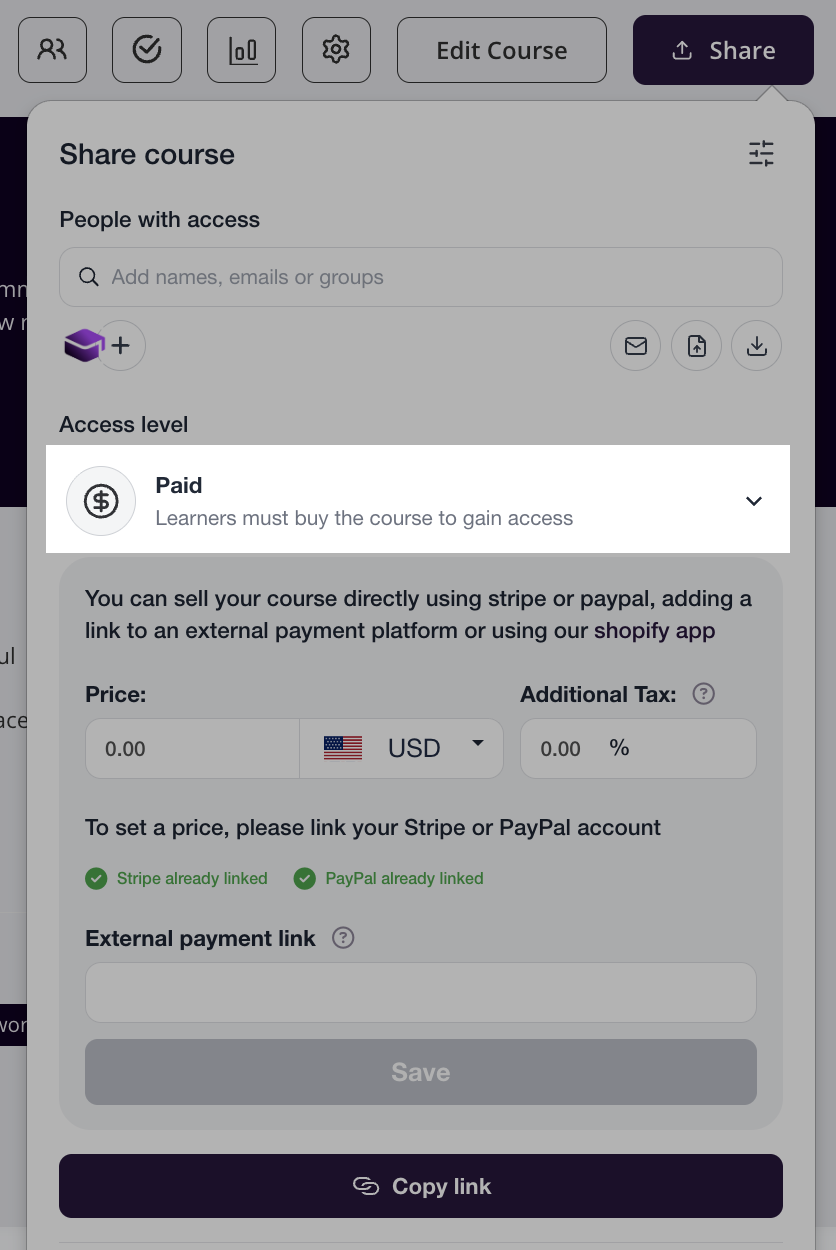
Enter your Price, choose your Currency, and add any Additional Tax % if required.
You'll now see Stripe and PayPal as available payment methods (if both are linked).
Learners will then see a Buy Now button and can purchase the course.
Promote all your courses at once (public course listing page)
As well as sharing a single course, you can promote all of your courses from one link. Every Coursebox portal has a public course listing page at:
https://<your-subdomain>.coursebox.ai/learning/search
Replace <your-subdomain> with the part before .coursebox.ai in the address you use to log in, or use your own domain if you have connected one. Visitors can browse and search your courses on this page without logging in, then enrol or buy.
To make a course appear on the listing page:
In its Share panel, set the access level to Public or Sell this course (Paid). Restricted and Draft courses do not appear.
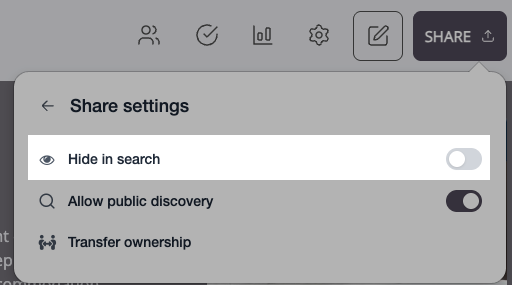
In Share settings (the settings icon next to Share course), leave Hide in search off and Allow public discovery on. These are the defaults.
If the page shows “No Courses to show”, none of your courses are Public or Paid yet. Open the link in an incognito window to see exactly what visitors see. For the full guide, including adding the link to WordPress and selling through WooCommerce or Shopify, see Link to Your Public Course Listing Page from Your Website.
Hide a course from search
To keep a course out of search results, open the Share panel, click the settings icon next to Share course to open Share settings, and turn the Hide in search toggle on. This stops others from discovering the course until you're ready to share it. When you're ready for the course to be found again, turn Hide in search off.
Transfer course ownership
You can transfer ownership of a course to another user directly from the course's Share panel.
Open the course and click Share (top right).
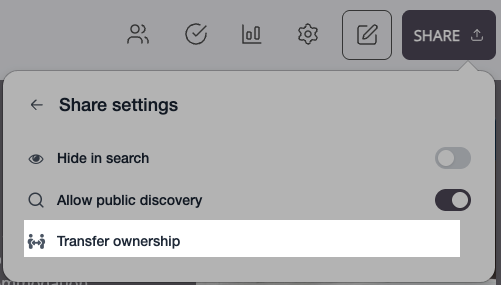
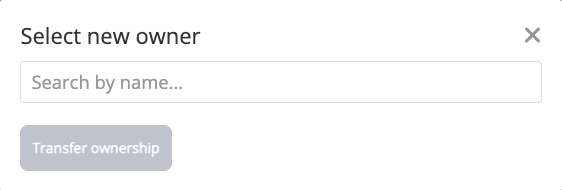
Click Transfer ownership in the Share settings panel, then select the new owner and confirm the transfer.
Examples of published course experiences
Coursebox courses can be published in different ways depending on how organisations want learners to discover, purchase, and access training. Below are real-world examples showing how different organisations use Coursebox publishing options.
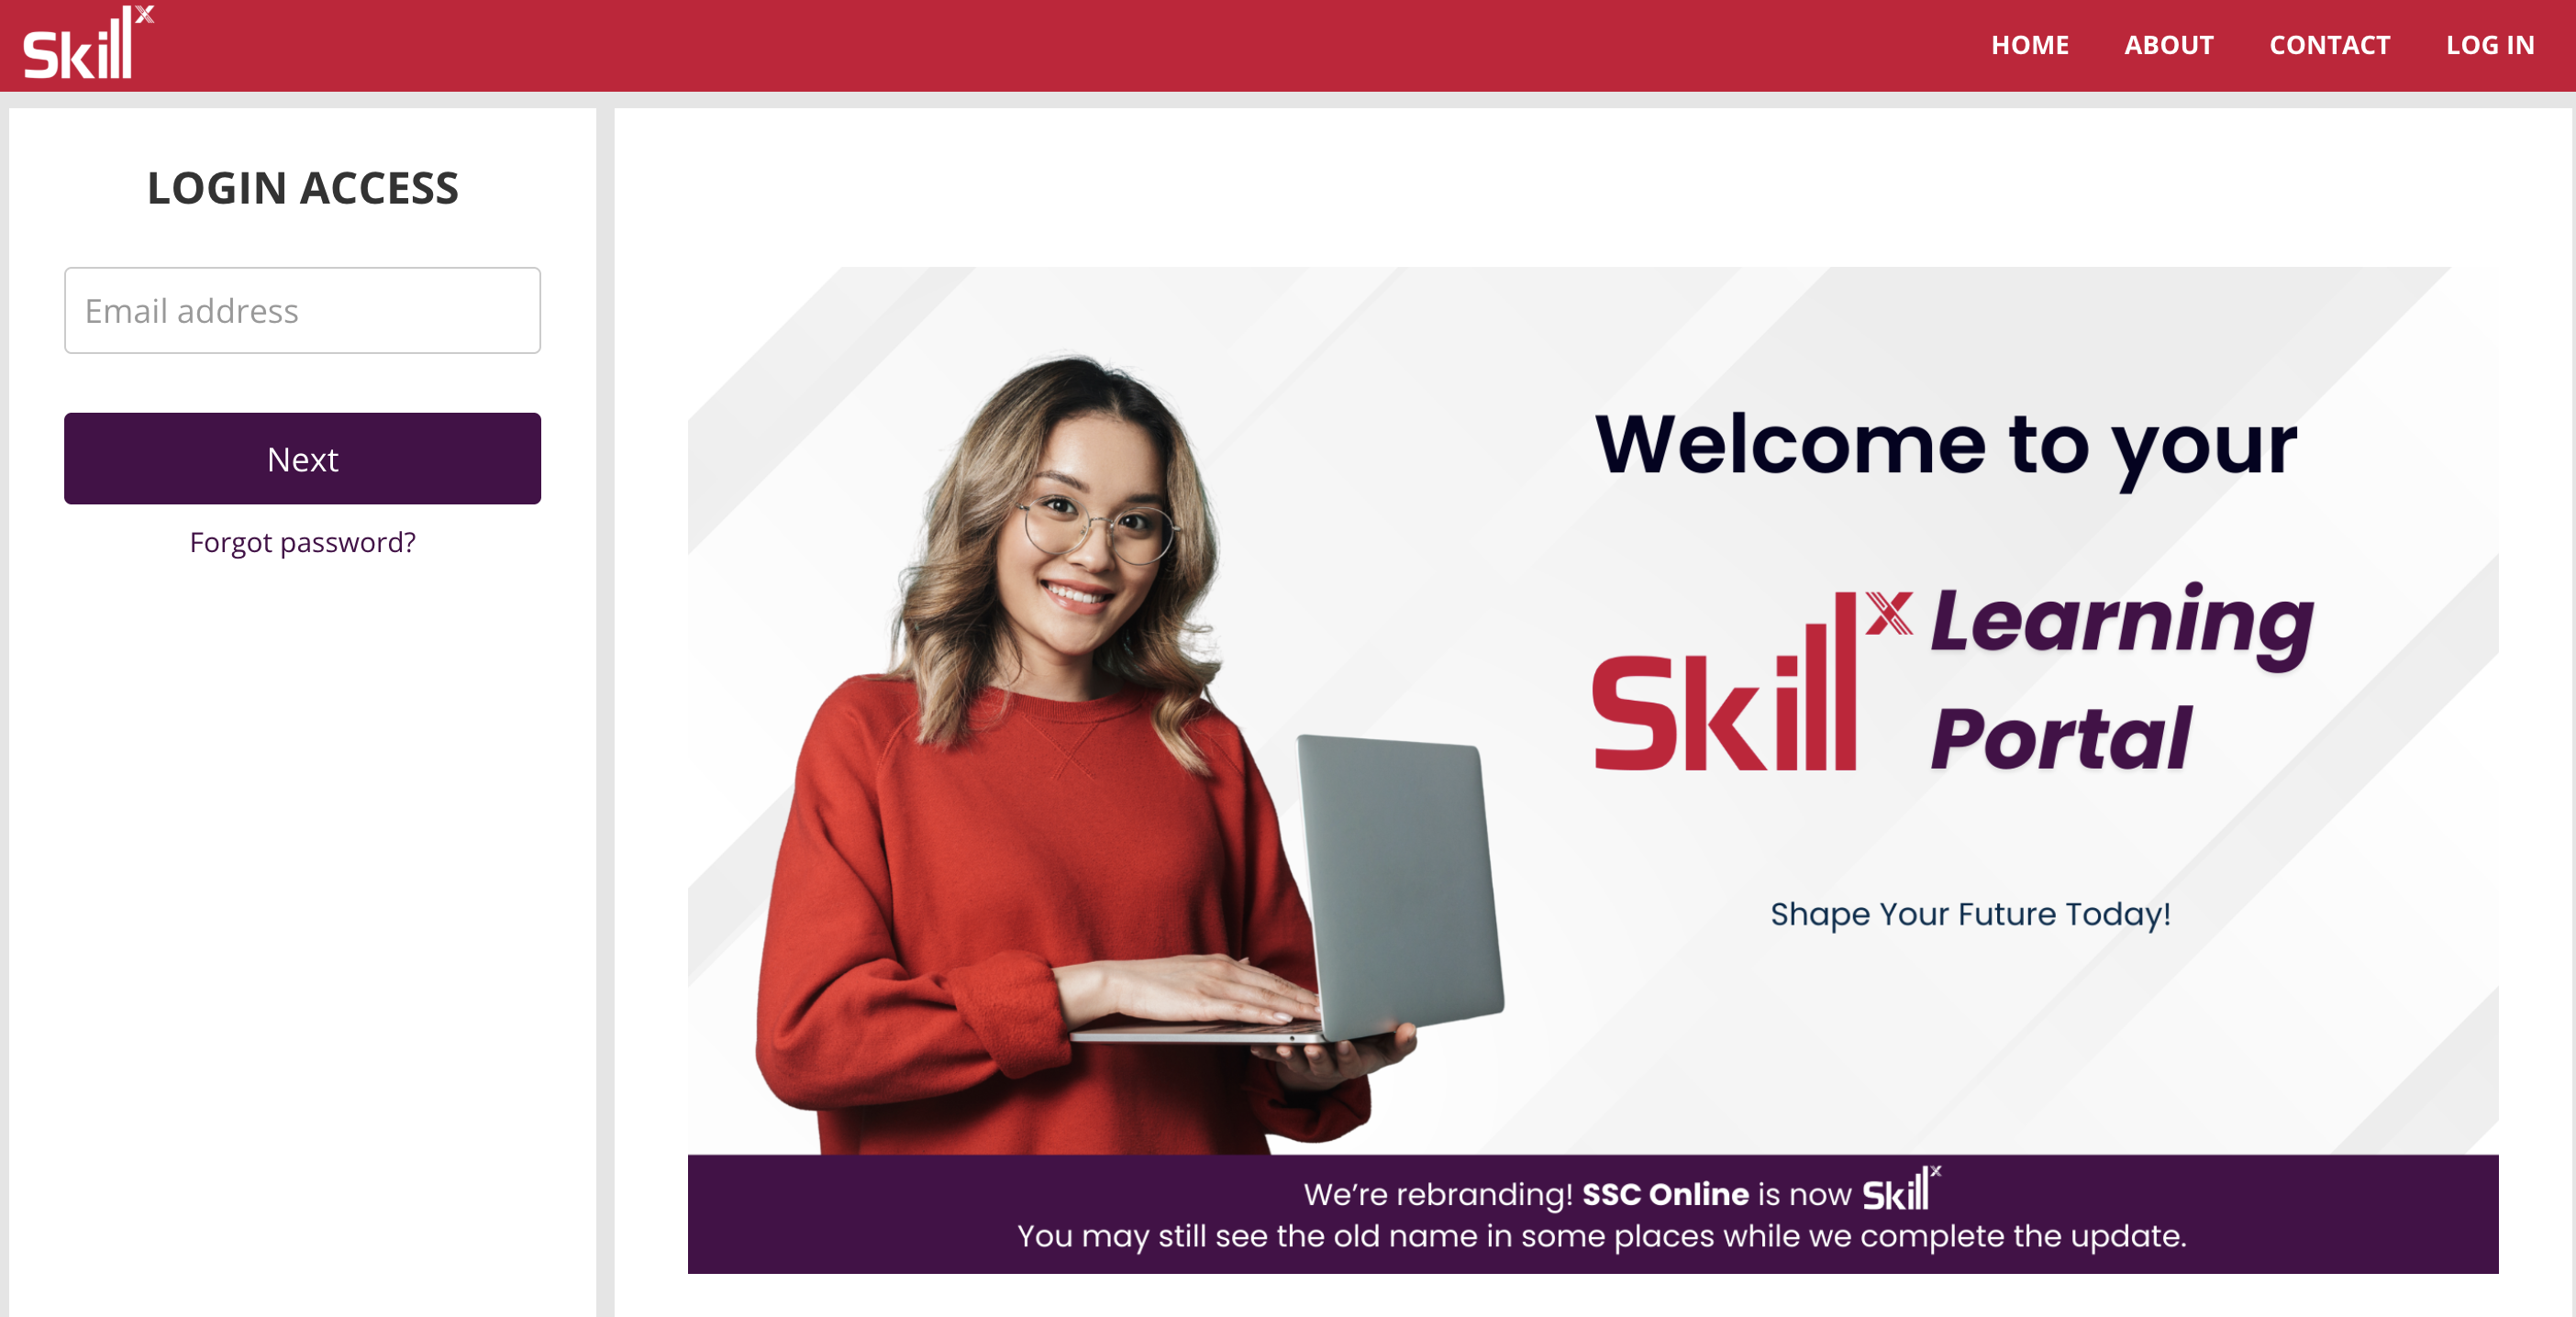
[Shopify site] Skills SSC
https://skills.ssc.edu.au/collections/all
Learner portal: https://onlinecourses.ssc.edu.au/
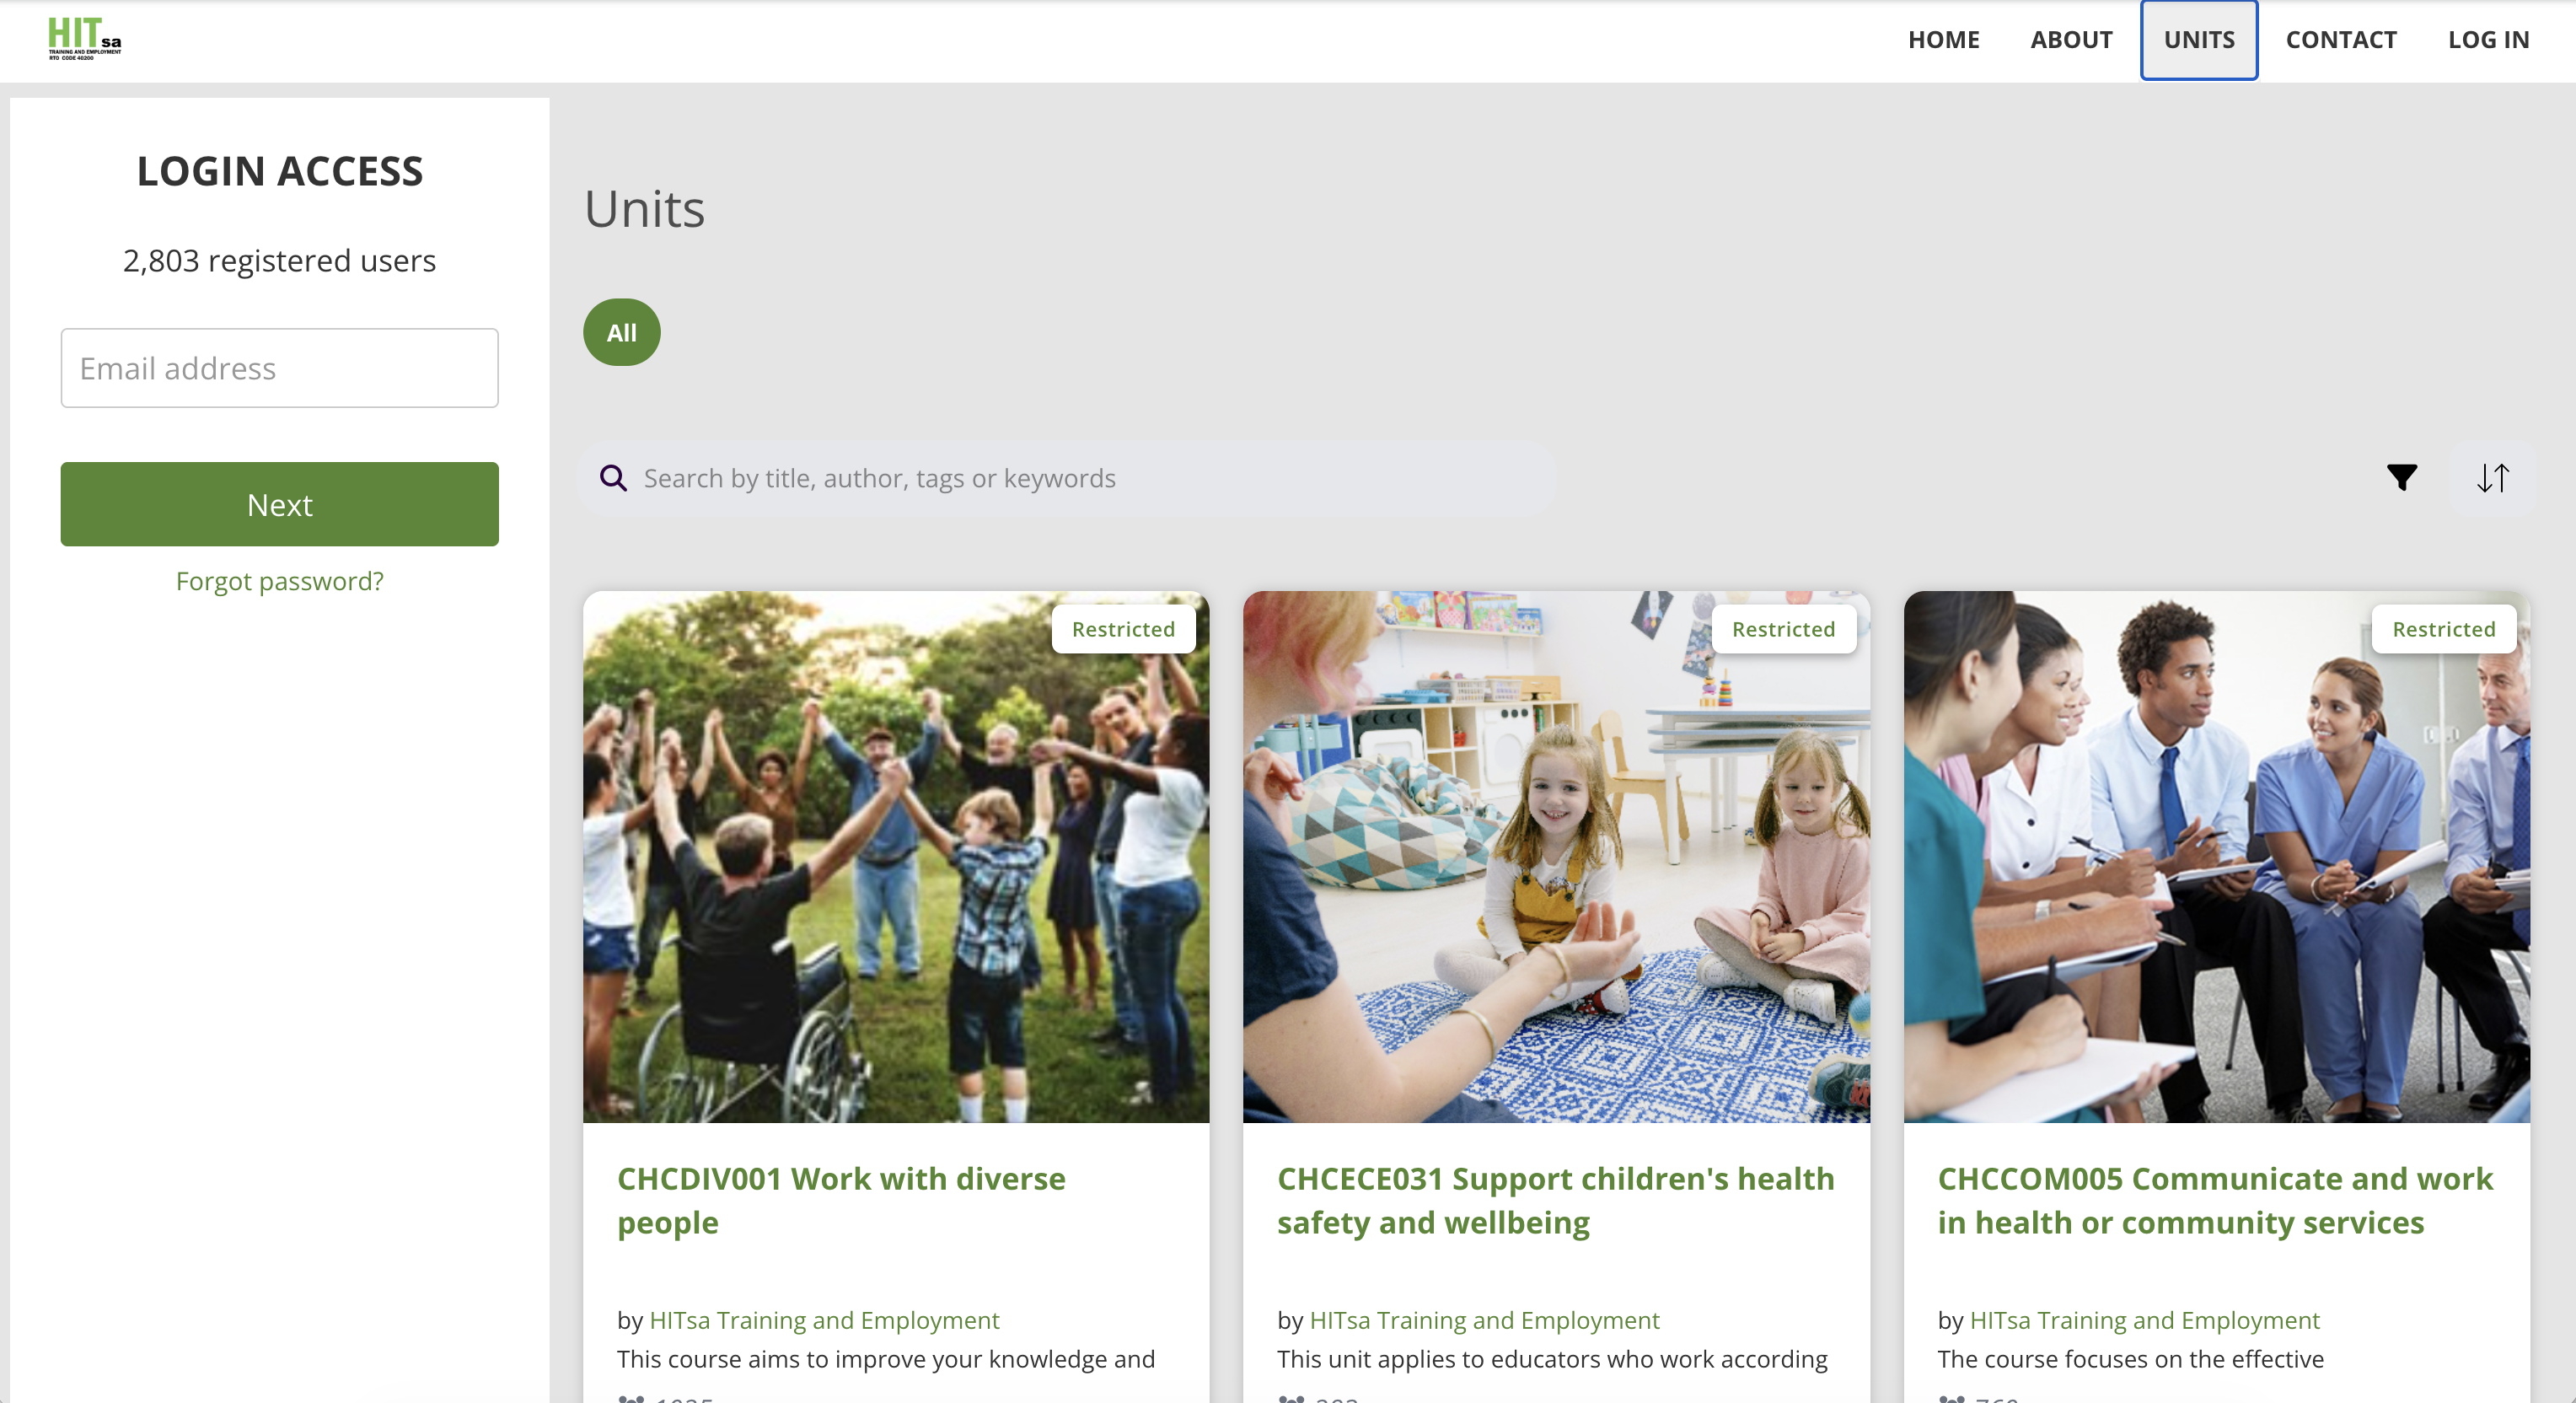
[WordPress site] HITSA
https://www.hitsa.com.au/
Learner portal: https://learn.hitsa.com.au
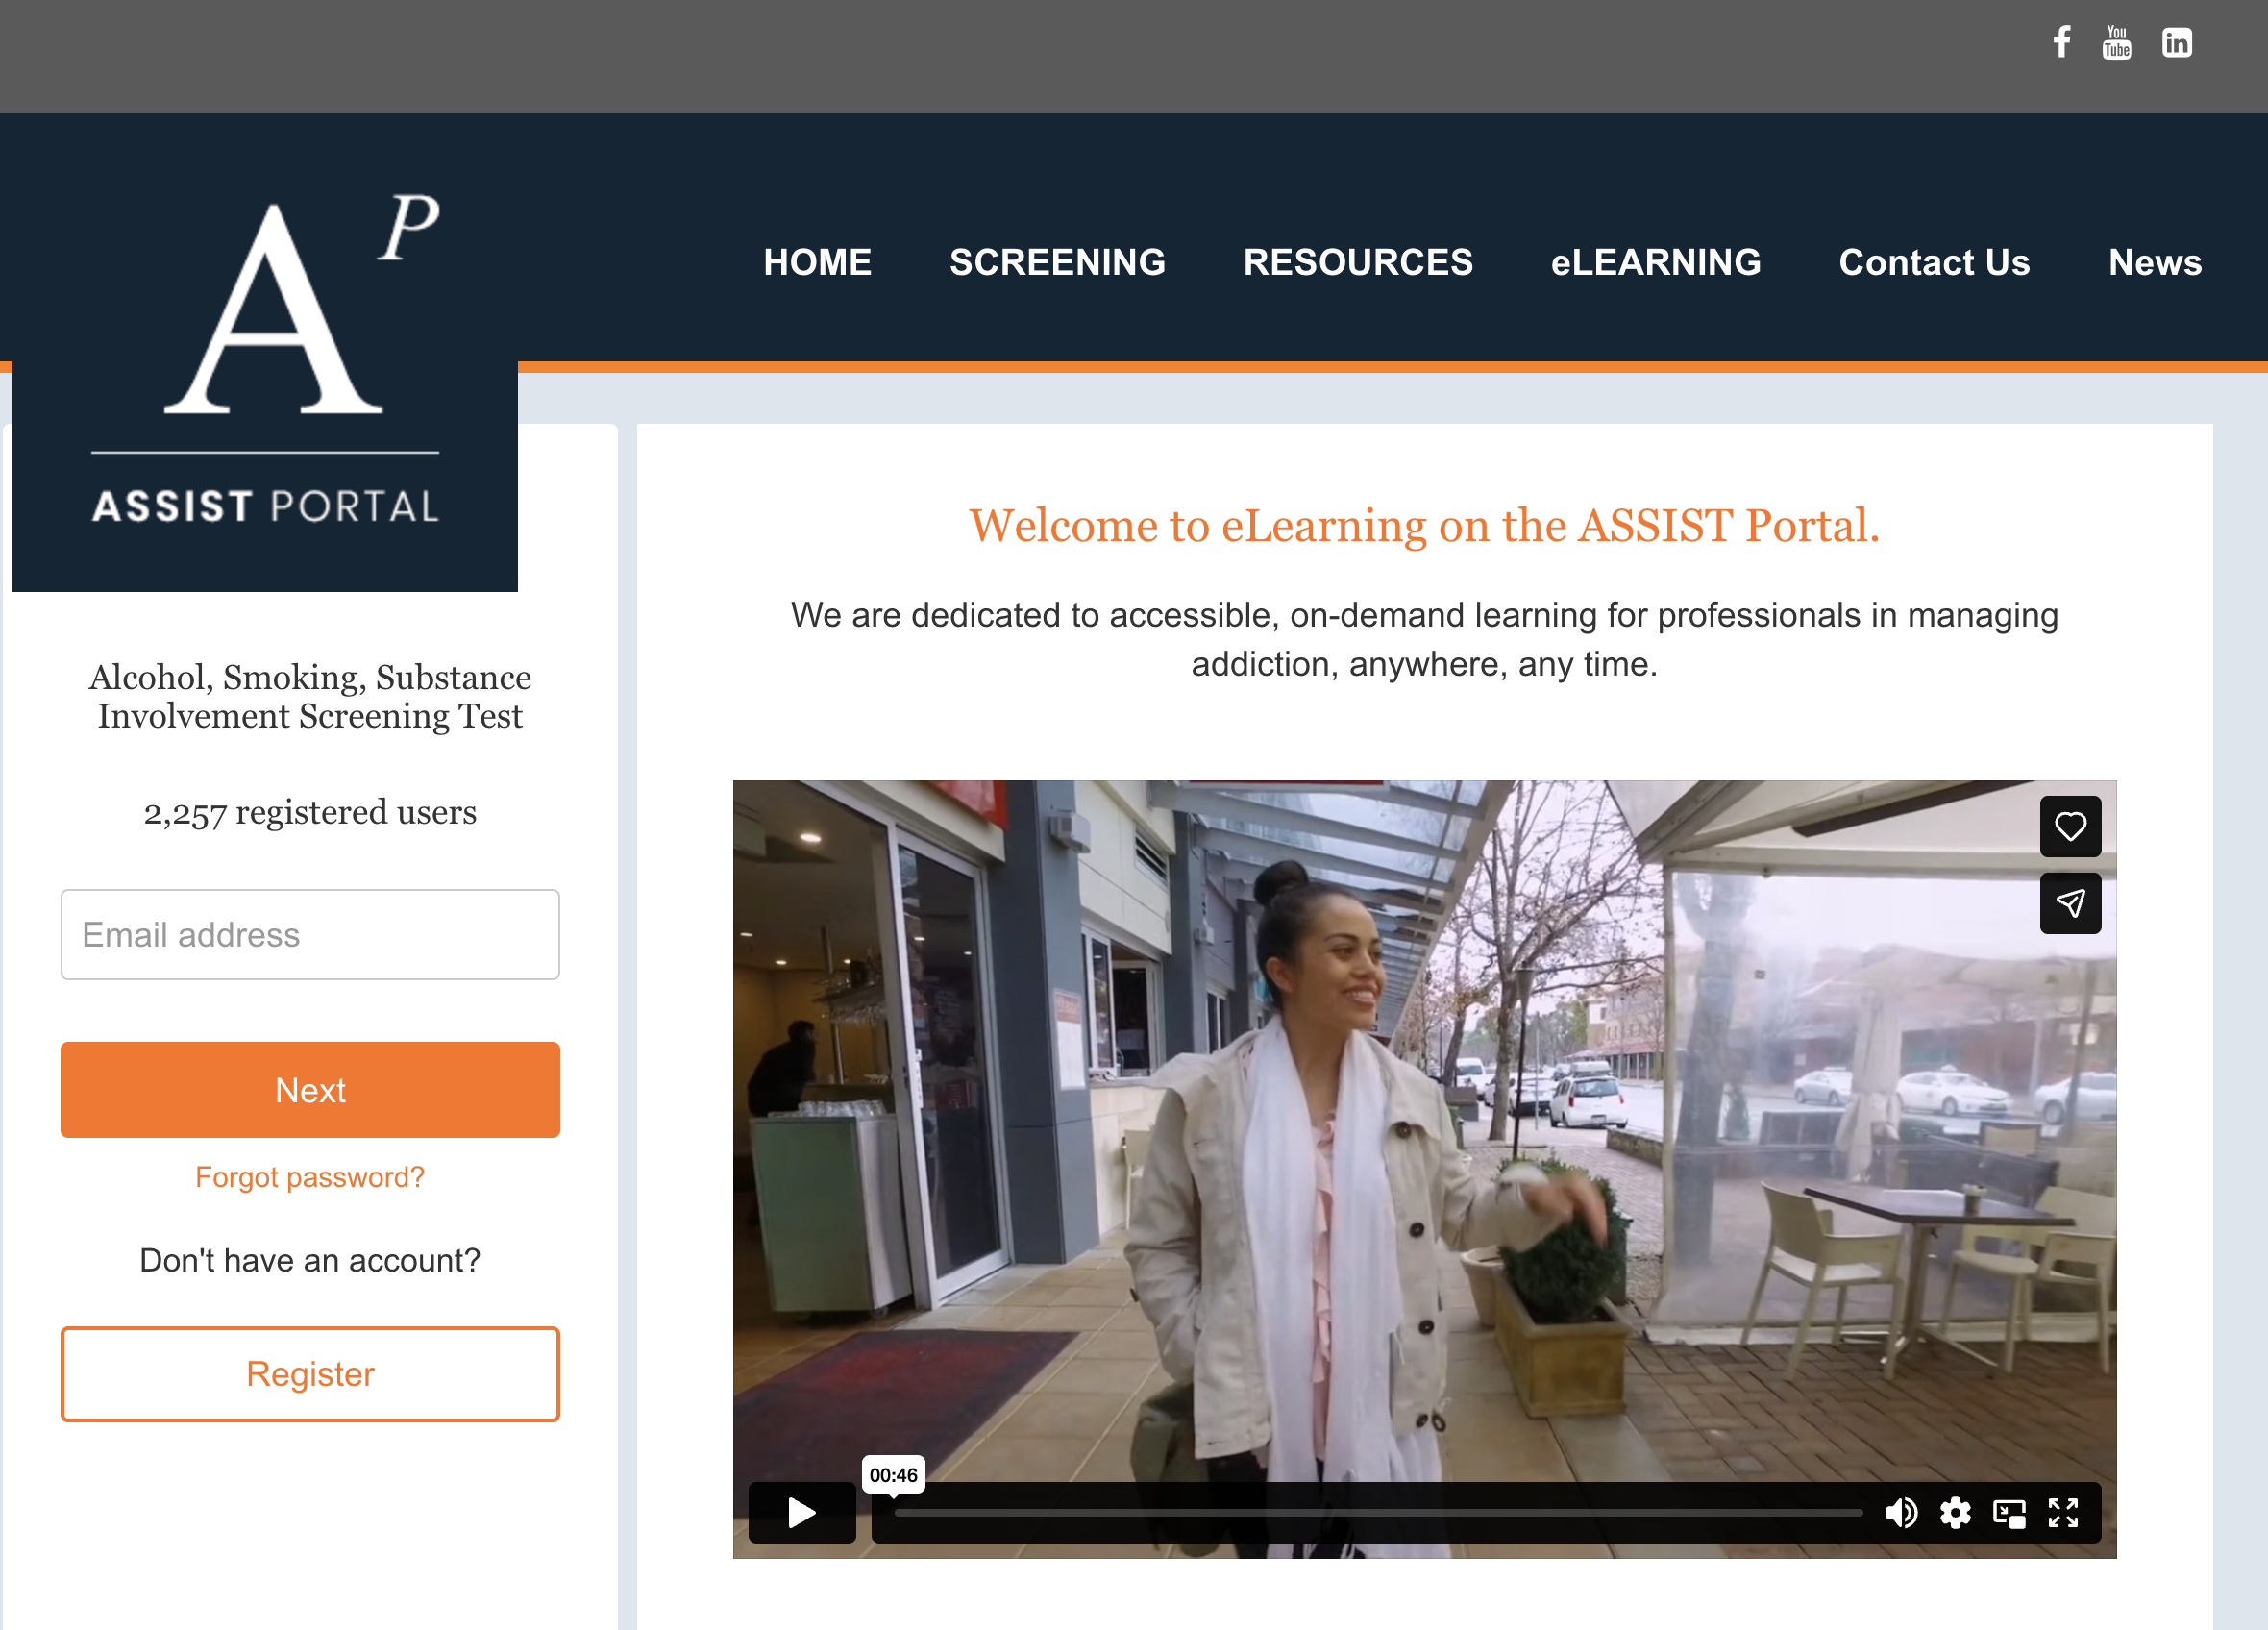
[WordPress site] ASSIST
https://assistportal.com.au/
Learner portal: https://learn.assistportal.com.au/
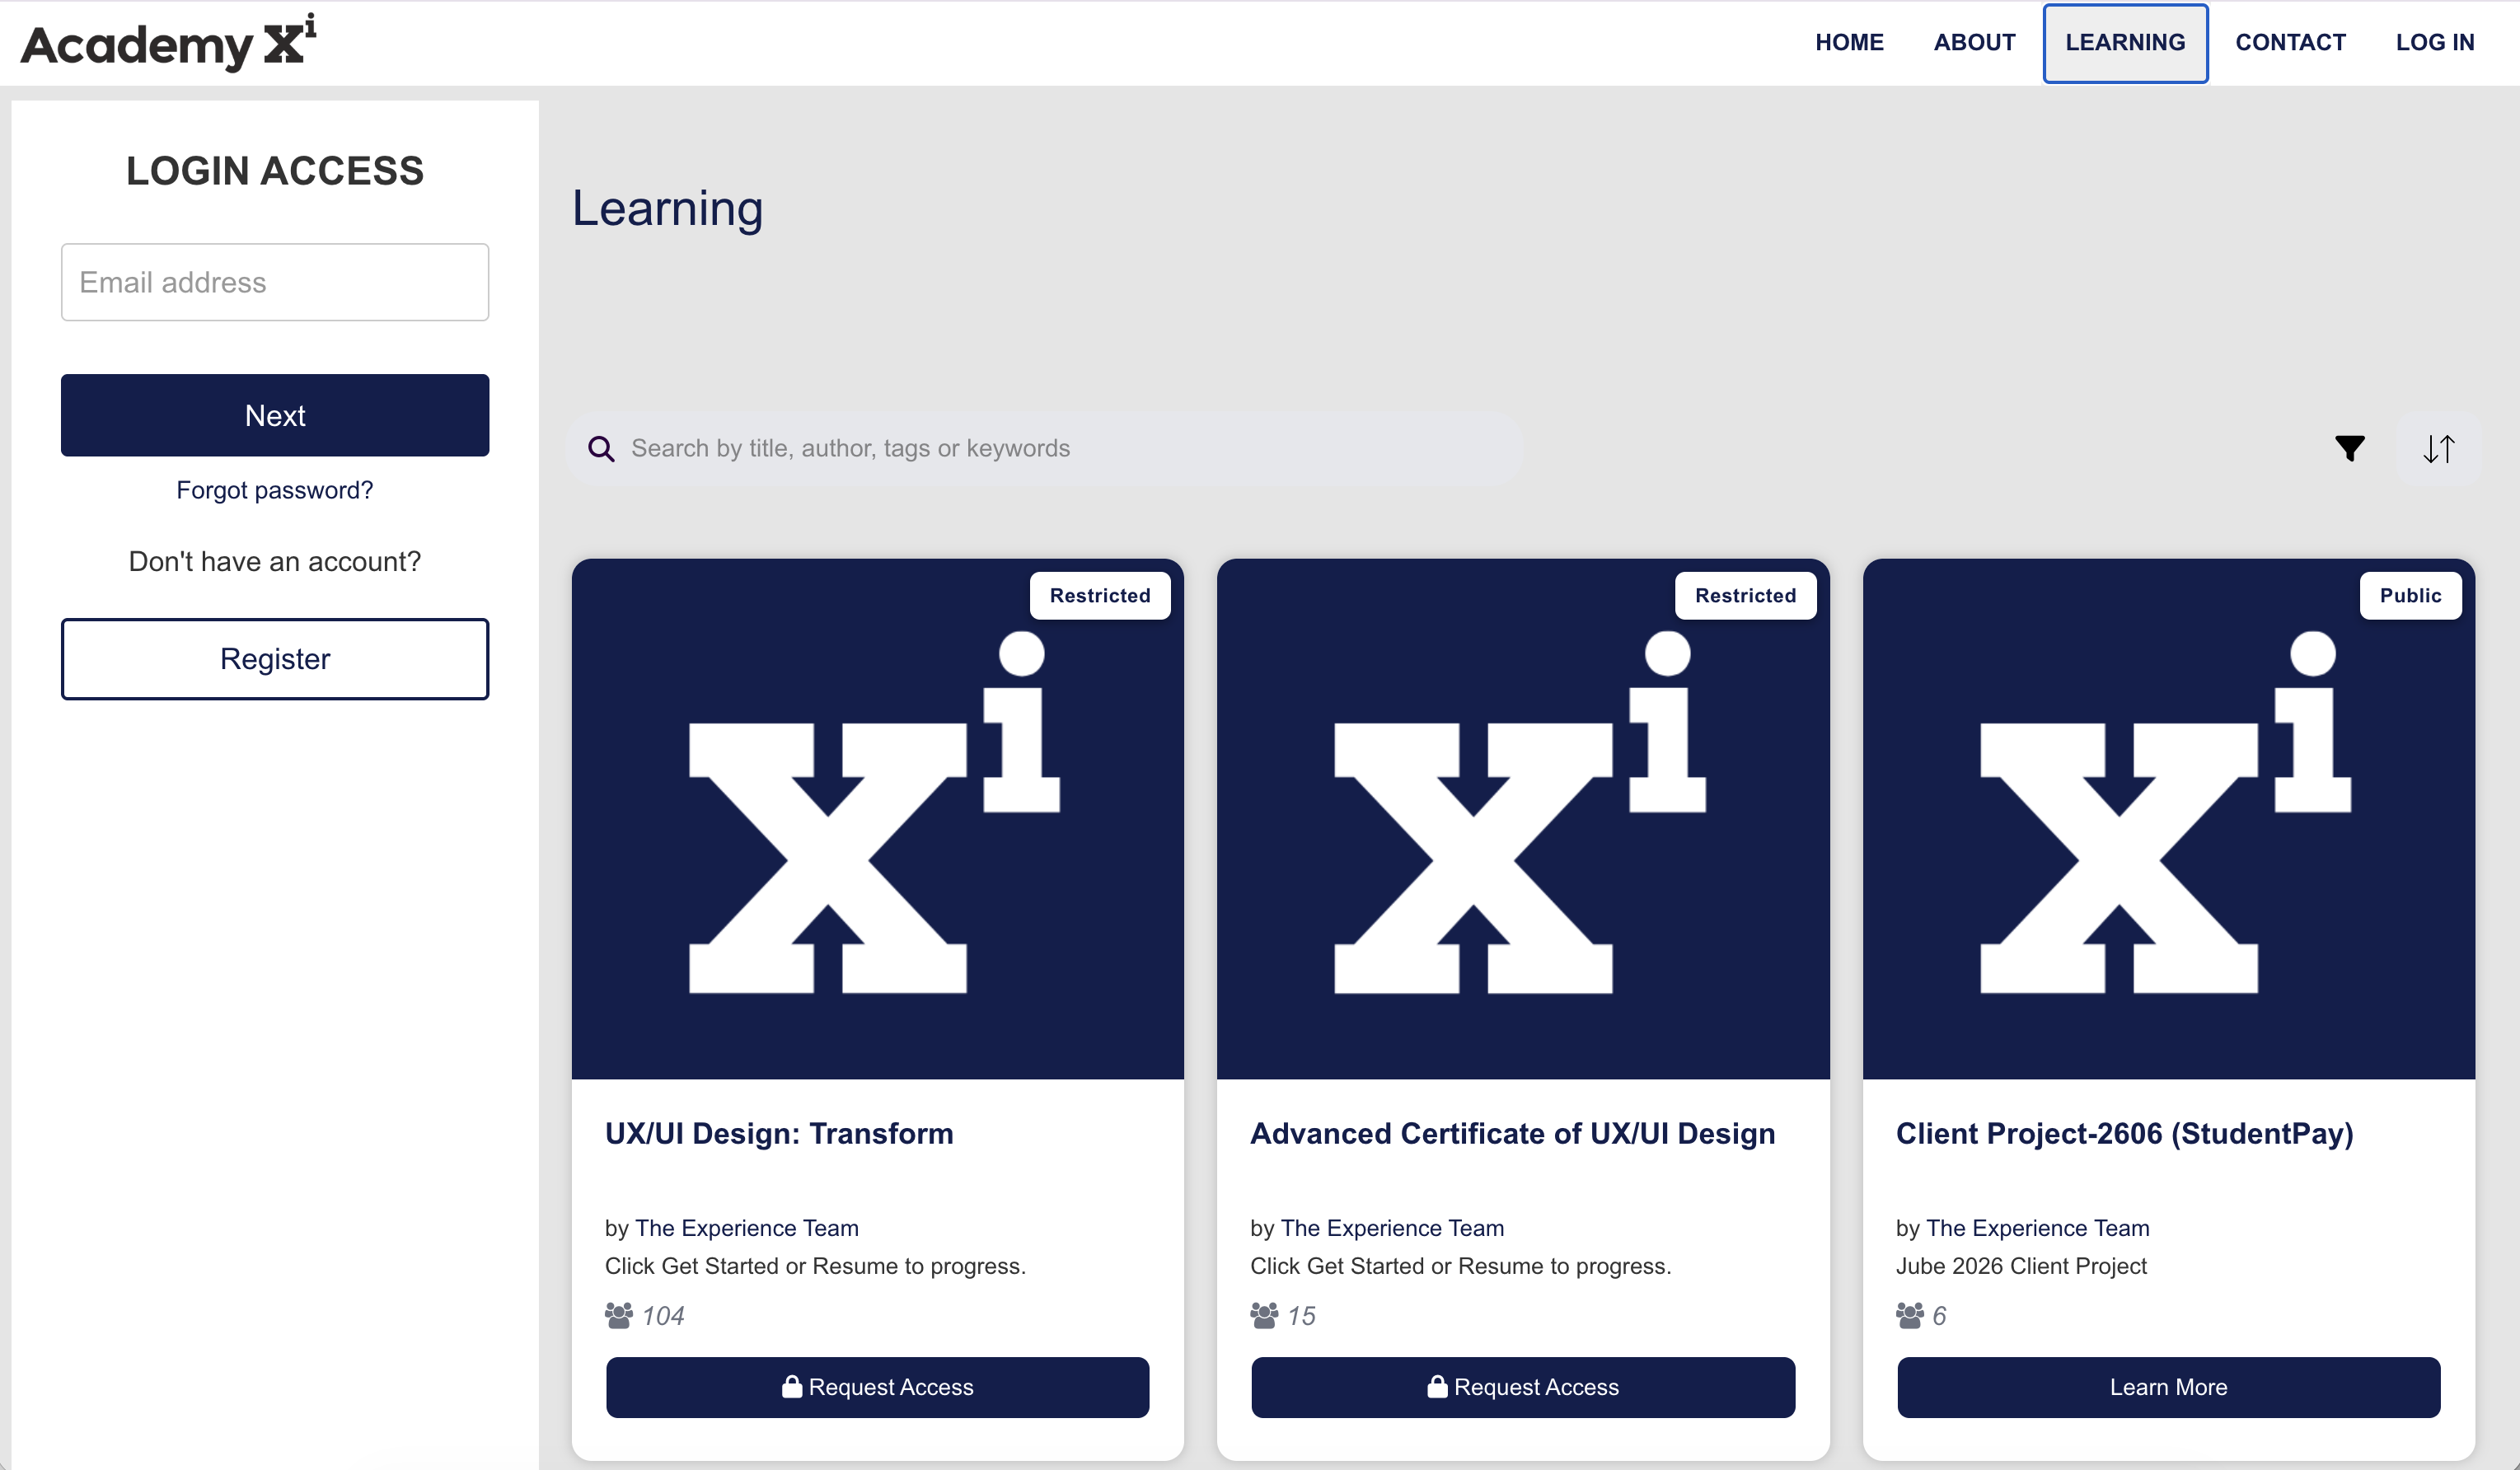
Academy Xi (Coursebox used as website, shop, and LMS)
https://innovate.academyxi.com/#/learning/search
Main site: https://academyxi.com/
Learner portal: https://xilearn.academyxi.com/