
Calendar Setup and User Access
Plan requirement: The Calendar is part of the branded LMS, available on Pro + LMS and Enterprise. Compare plans.
On an earlier plan? Plan names and inclusions changed when we moved to Free, Creator, Pro, Pro + LMS and Enterprise. If you are on an earlier plan, your subscription continues unchanged and you keep everything it included — so you may still see features this article lists under a higher plan. Nothing has been removed from your account.
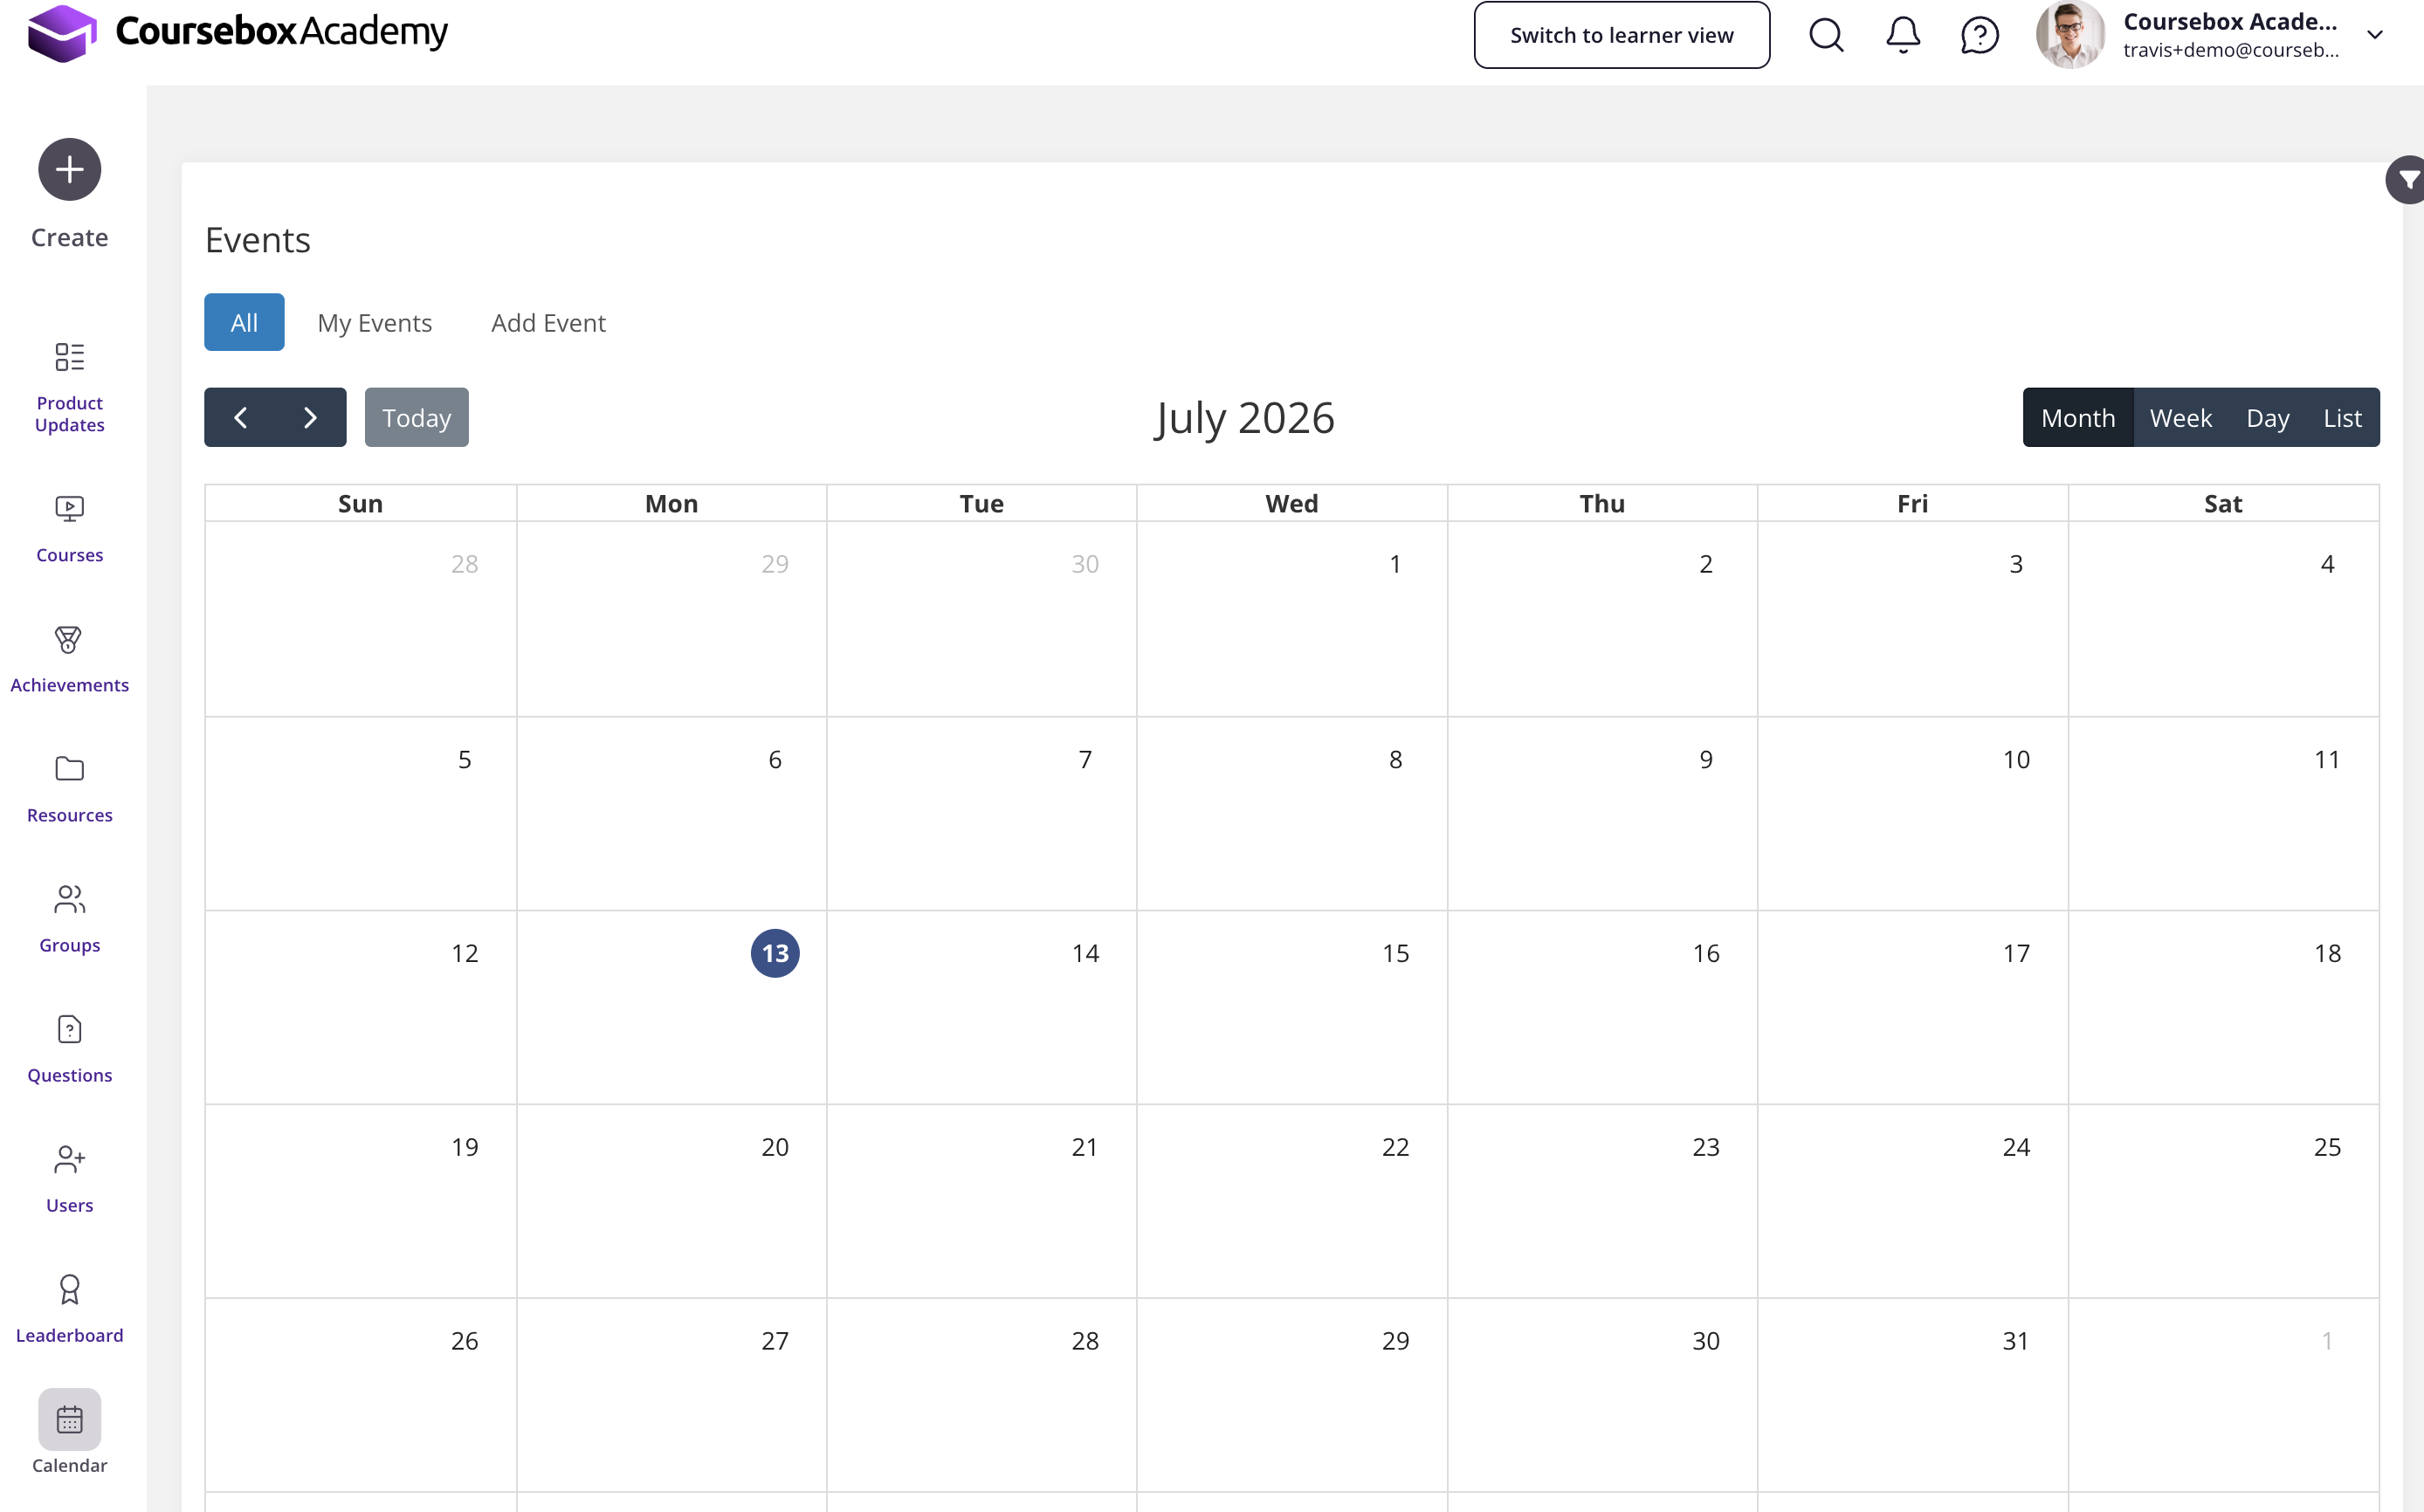
This topic explains how to use the Coursebox Calendar to create events, manage availability, and control who can view and participate in calendar activities. It covers adding individual users and Groups to your calendar, creating events, and managing shared visibility across your learning community.
Add a User's Calendar
You can sync your calendar with other users' calendars by adding them to your calendar.
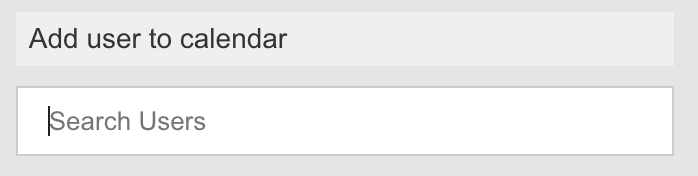
On the right-hand column, go to the Add user to calendar section, search for the user and press Enter.
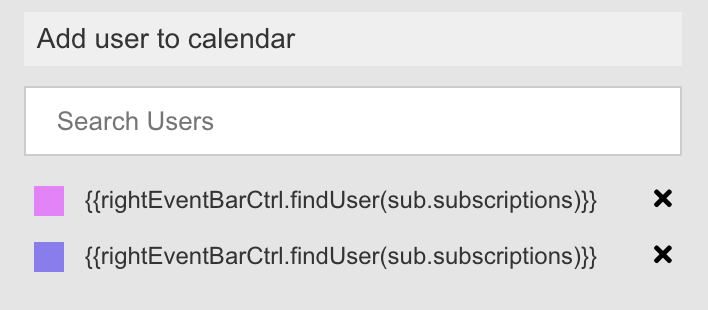
Once you have added a user, their name appears below with a colour code.
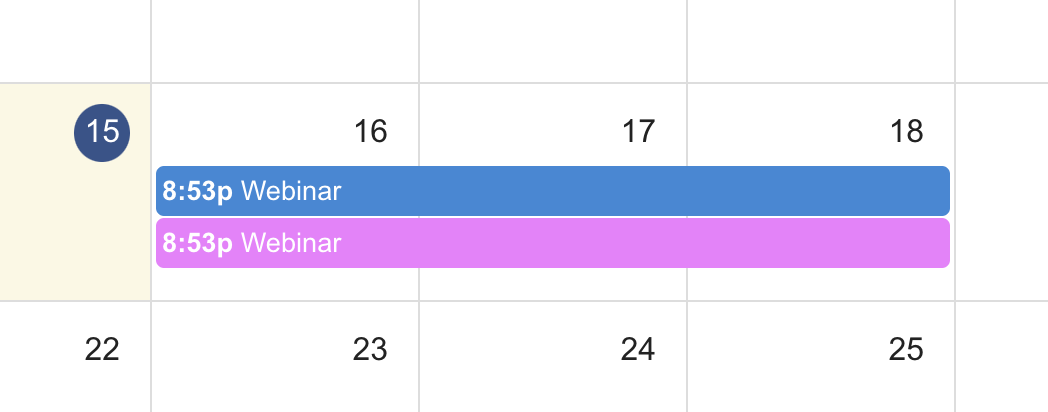
On the calendar, each user's events appear alongside your own in their assigned colour.
Create a Calendar Event
Click Add Event to create a new calendar event, then fill in the event details:
Event Name
Date and Time
Location
Notification Settings
Attendees
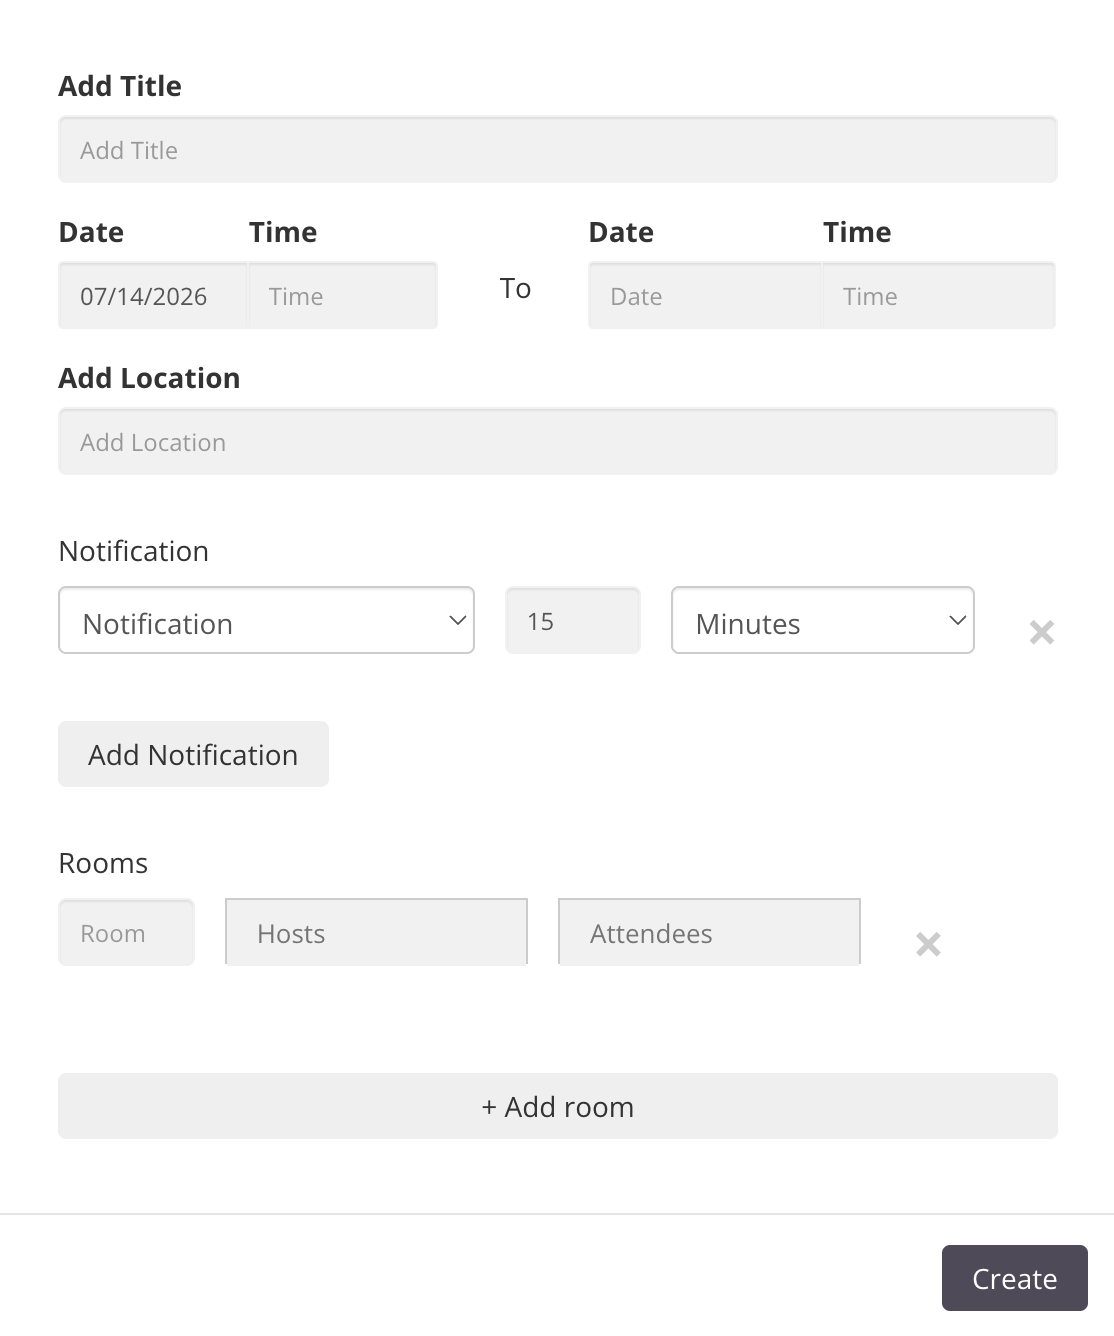
After completing the event details, click Create to save the event. Your new event then appears in the calendar.
Group Calendars
Click the Channels option to invite all the members of a Group.
Start typing @ to view the list of Groups. Choose the Group and click Add to send the invite.
The Groups added to the invite list are shown below. You can remove one by clicking the X icon.
When you enrol a Group in your course, new members of that Group are automatically enrolled in the course and receive a notification.